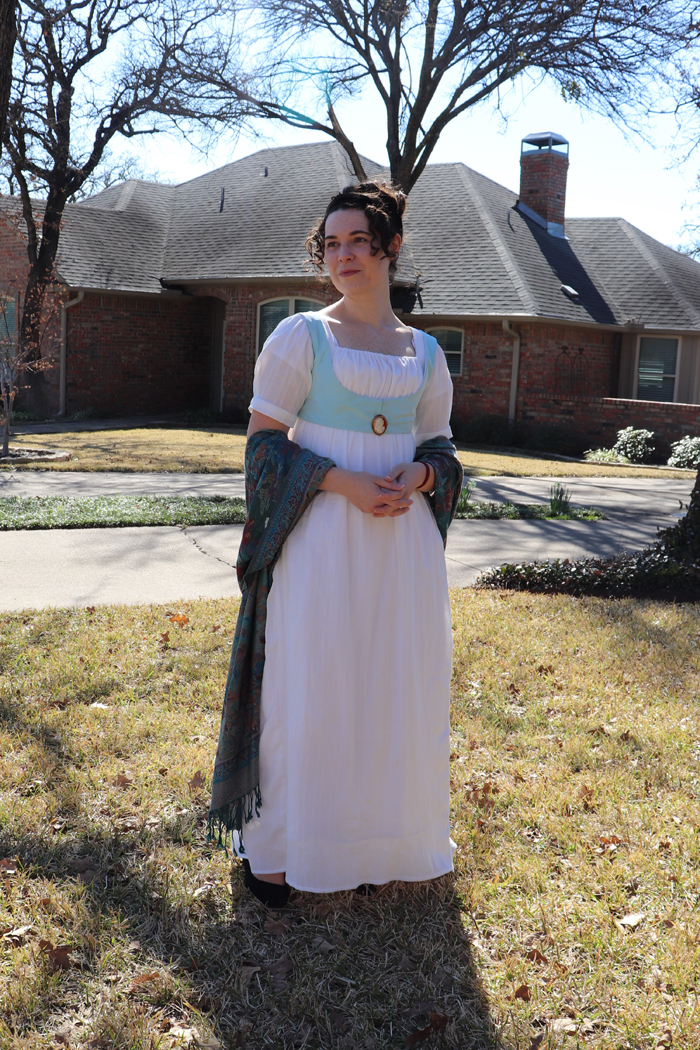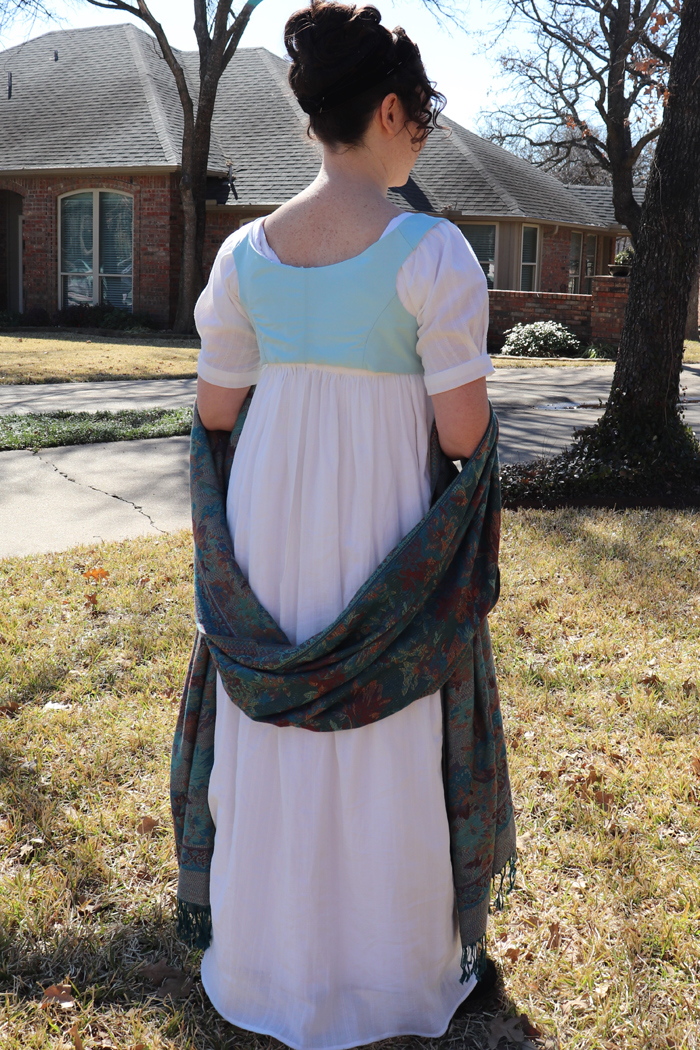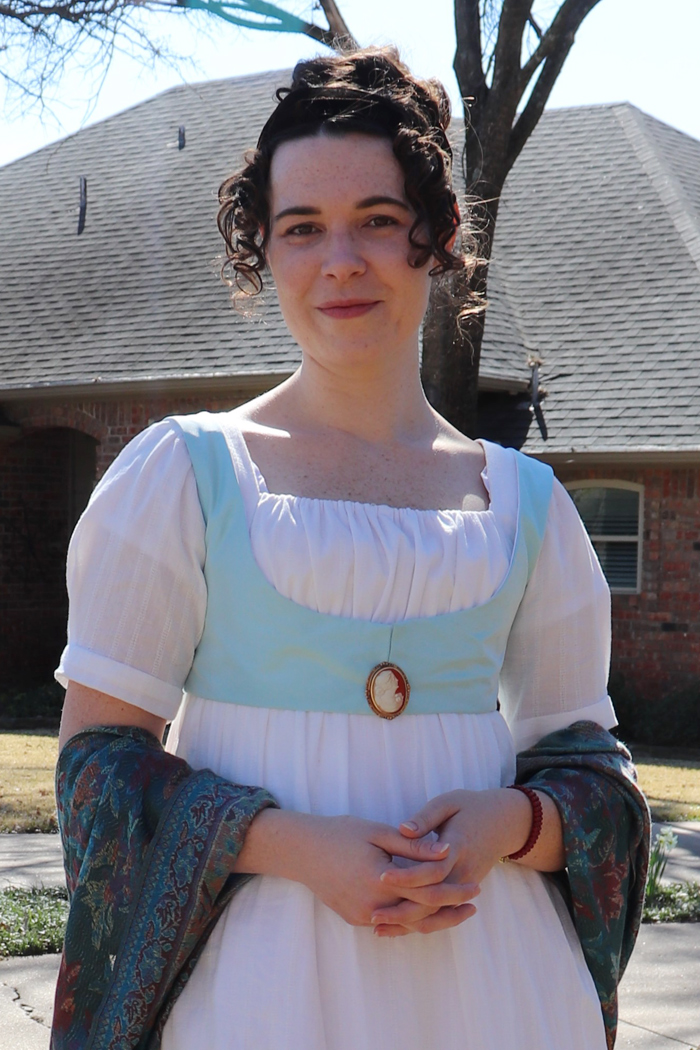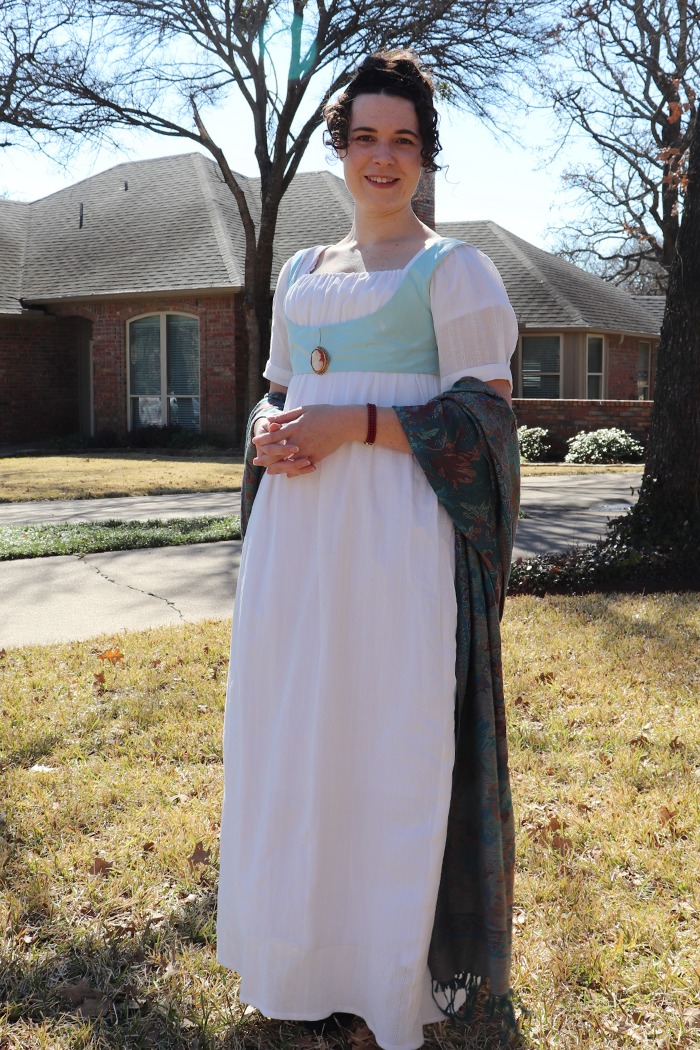
Black Snail Regency Era Dress and Spencer

You might remember my last Regency project – this black velvet and silk spencer, which I made specifically to hide the back bodice of a poorly made white striped gown. Which was my second attempt at making a white striped Regency gown.
It feels like I’ve been trying to make one stupid dress for years with no luck – until now!
Sheer white muslin dresses were like the little black dress of the Regency era. They go with everything. They can be fancy or plain. You can layer them over colored underdresses, top them with embroidered lace overdresses, pair them with jackets and accessories. One dress to rule them all!
And when I had the opportunity to attend a Napoleon and Josephine themed Valentine’s Day tea party I decided that was the perfect excuse to try to sew a new dress… one. last. time.
I chose a pattern from a new-to-me company: Black Snail from Austria. This design is supposed to date from between 1805-1810 which was perfect because I prefer the simple and elegant designs of the early Regency compared to the frilly later Regency styles.
This simple white striped cotton came from Fabric.com. The silk taffeta for my sleeveless spencer (also from the same pattern) is leftover from another costuming project (a project which I paused in order to quickly complete this outfit in time).

The only change I made to the dress was to add width to the gathered front bodice panel just to give the bust area some extra oomph.
Other than that, the pattern fit perfectly right out of the printer! It’s a lovely design that feels very accurate and the instructions featured purely historical assembly (but I didn’t have time for that so I did a mix between hand and machine sewing). The bodice is lined in cotton muslin just to hide the under layers.

The spencer closes with four hooks and thread loops – my first time making thread loops by hand! The spencer is also lined in cotton muslin.
My cameo brooch is vintage, likely from the 1960s but it’s passable for 1700/1800s.
The coral bead bracelet was a lovely gift from my friend Sunny (originally made by Dames a la Mode).
I’m wearing my Regency underthings under the gown. My hair is really long right now which is great for making a fancy bun, but I had to do some finagling to position the curled “bangs” just right.
This dress design is a little different from my other regency clothes in that the skirt is gathered in the front rather than laying flat. This style is more typical of earlier in the period and I’ve usually shied away from it because I was worried the added bulk wouldn’t be very flattering but then I thought – women of all shapes and sizes existed throughout history and they all adapted to the fashionable style of the day. And what is thought to be “flattering” changes every decade, so who cares? And I’m glad I tried this style because I really love this dress!

I’m really pleased with this pattern, the design, the fit, all of it. Will definitely try more patterns from this company in the future. Which may be sooner rather than later because their patterns are on sale for really cheap and I bought, like, 5 of them!
Another beautiful make. You are so very talented and I love seeing your creations. Thank you for taking the time to photograph and write about your pieces.
I am new to costuming, not an expert sewer. I am trying to make this dress, and I am stuck on step 5 of the instructions! I can’t figure out what is going on. Any tips? Thank you.
Hey, I’m so sorry for this very delayed response. I’m sure you’ve already completed the dress by this point but in case not, Step 5 is all about attaching the lining to the fashion fabric along the neckline and the front bodice area and making the drawstring casings. I assembled my bodice a little differently than the pattern instructions (which use purely historical construction methods, I sewed a lot of parts by machine).