Using Scraps: Wine Bottle Gift Bag (Guest Post by Leah of Struggle Sews a Straight Seam)
***What? I’m still gone? Craziness. Lucky for you there’s more guest post greatness coming up!!!!
Leah’s blog is one of my faves to read for several reasons: her big smile in every photo along with her hilarious writing style always makes my day. You really get the idea that this is one fun lady! Her enthusiasm for her sewing projects is contagious! Not to mention she’s got an adorable cat who frequently makes appearances (I love cats and sewing…). I love how she brings her unique heritige into her sewing. Part Russian and Puerto Rican, you’ll often see her posing in cute shorts amongst palm trees in Puerto Rico and she is using vintage fabrics that she inherited from her grandmother to create her own clothes. Thanks Leah for coming over to the dark side my blog!! ***
When Dixie asked me to do a guest post, I couldn’t have been more thrilled. A guest post? For one of my favorite bloggers? Are you kidding me? Where do I sign? I was all ready to do something Faustian and just give my soul or what have you but Dixie assured me all I had to do was a tutorial. Ha. Is that all?
One of the many things I adore about Dixie is her dedication to using small amounts of fabrics and scraps. The great scrap debate rages across the interwebs, with some desperate to use theirs and others scorning these humble bits of fabric and all they can do. Me, I can’t bear to part with tiny bits of even the crappiest fabric, let alone half or quarter yards. So I like to think up projects that can efficiently employ such pieces of precious (and non-precious cloth). And I figured, what better way to show my devotion to Dixie then with a scrap-based tutorial?
So here it goes, my tutorial for wine bags! I love wine. I love it deeply and completely. But I know that not everyone is into it, so this would be a great way to package sparking cider, soda, or even Perrier! I like to bring wine whenever I go somewhere for dinner, or stay at the house of a friend, and my mom actually gives
bottles of prosecco away at every settlement (she’s in Real Estate). So I thought this might be a great way to make that gift extra special, while using access fabric too!
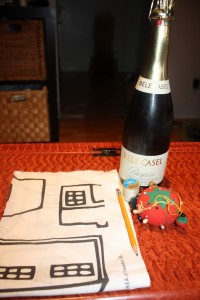
What you will need:
- About ¼ of a yard of fabric of any kind
- Thread
- A sewing machine (unless you are sadistic and want to hand sew this thing)
- Pins
- A Pencil
- A bottle of whatever you plan to put in this bag
- Measuring tape
- A Ruler
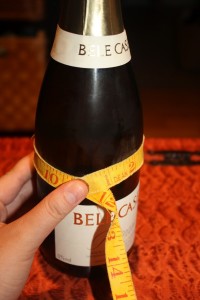
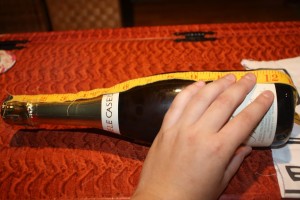
Step 1:
Measure your bottle both lengthwise:
and widthwise
Allow whatever seam allowance you enjoy. I personally am a ½ inch kind of a girl, but hey, find the you in you and ask them what they desire in a seam allowance.
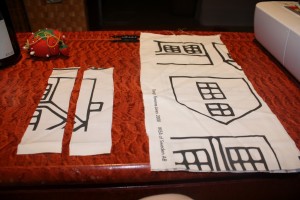
So say my bottle was 13 inches long by 6 inches around. So adding ½ inch seam allowance per seam, I would cut two pieces of fabric that were 4 inches by 14 inches. I personally added an inch on the top (and would add another, for the future) just so the whole bottle would be completed covered in the bag (and preserve the surprise!) but again, do what feels right.
I also cut two pieces of fabric 5 inches by 1 inch. These will become the strap of the bag. Feel free to alter those dimensions should you want thicker straps, but I wouldn’t go much thinner, as liquids are heavy.
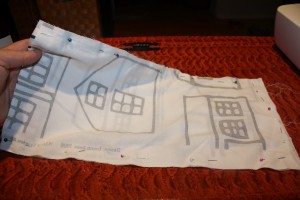
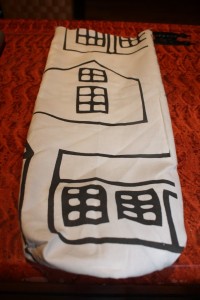
Step 2: With right sides together, pin and sew the body of the bag, pivoting around
the corners.
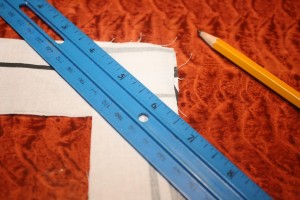
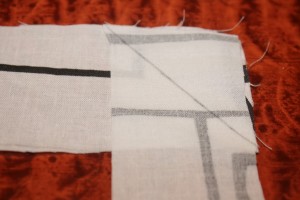
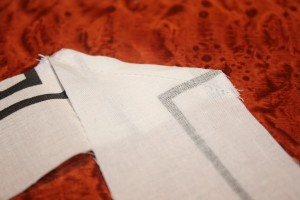
Step 3: Lay the strap pieces together at a right angle.
Using your ruler, mark a line across the center of the square formed by the overlap
of the two pieces of strap fabric:
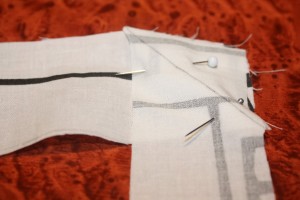
Step 4:
Pin and stitch along that marked line.
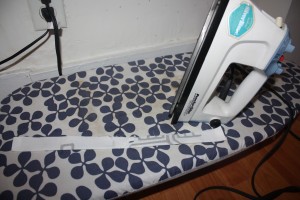
Trim the excess and iron.
Press the strap in half, right sides together
Step 5:
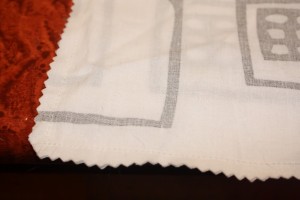
Pink the seam allowance on the body of the bag.
Turn the top of the bag over by ½ an inch (or whatever works according to your seam allowance etc). Turn it over again, and stitch the double fold in place. (I like to wait until I’m attaching the straps and do it all in one step, so you can do that too, if you like!)
Step 6: (Optional)
If you want the bag to have a rectangular bottom you can sew along the bottom two corners of the bag. You don’t have to do this but I like it, personally. You just sew perpendicularly to the corner, creating a little sewn triangle:
And it will look like this:
Step 7:
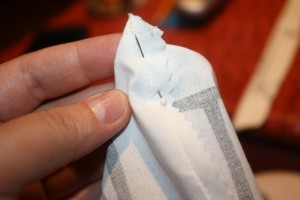
Sew the strap together on the long side, leaving the two short sides unsewn.
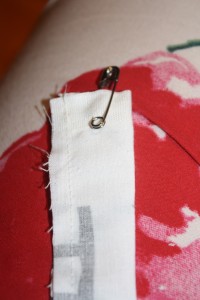
Taking a safety pin, pull the right side of the strap through until the whole tube of fabric is facing the correct way (i.e. you can see the right side and the wrong side is the inside of the tube).
Step 8:
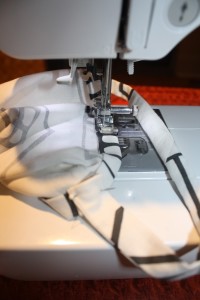
Attach the strap to the body of the bag, using the two seams as your placement guide. I like to do a zigzag stitch because I like the way it looks, making sure to double back over the places where the strap meets the body of the bag. As I mentioned before, I tend to double this step up and be hemming as I’m attaching,
but if that doesn’t work for you, no worries!
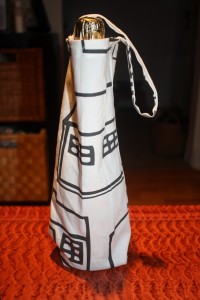
And there you have it! A lovely wine/prosseco/yoohoo bag to bring to your next shindig!
Thanks, Dixie, I loved making this tutorial, and I hope your readers enjoy it too! ~Leah
Cute gift idea!
The tutorial you have given makes it easy to follow.
Send gifts to pakistan