Dixie DIY’s Summer Swimsuit Sew-along Pt 6: Attaching front to back
Only two more posts to go and you’ll be ready to strut your stuff on your beach vacay! Aren’t you excited!?!?!?! Let’s get a move on. Last time we finished with step 7, adding elastic to the neckline.
Remember how we didn’t gather under the bust yet like it says to do in step 4? Well, we’re going to do that now.
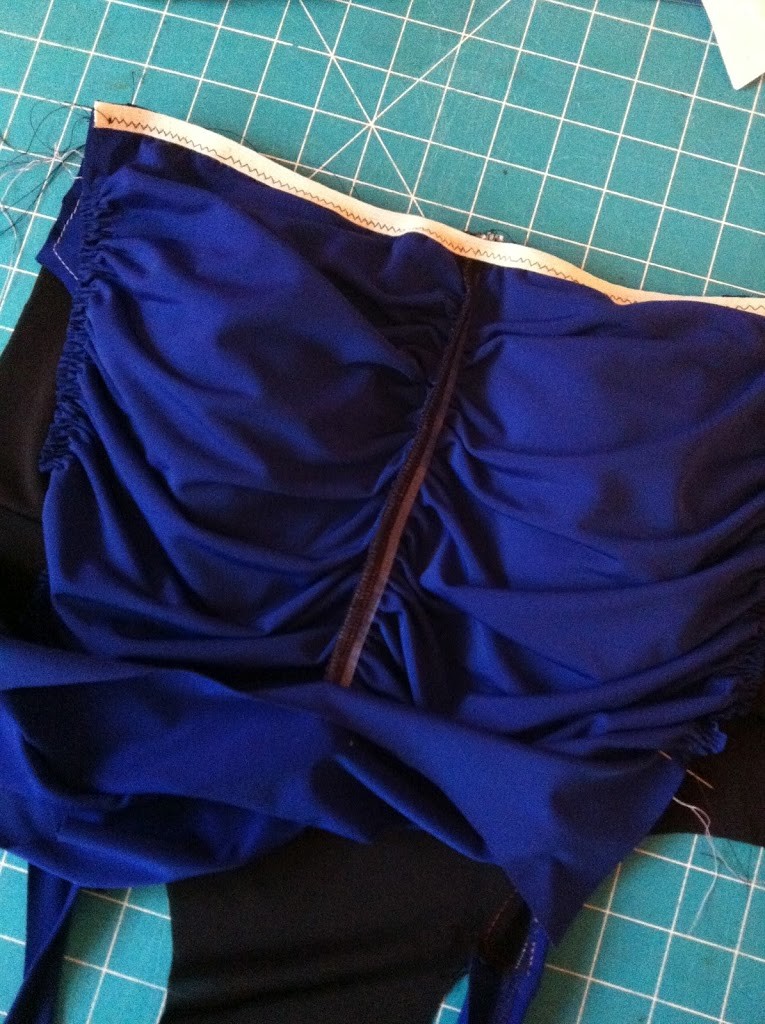
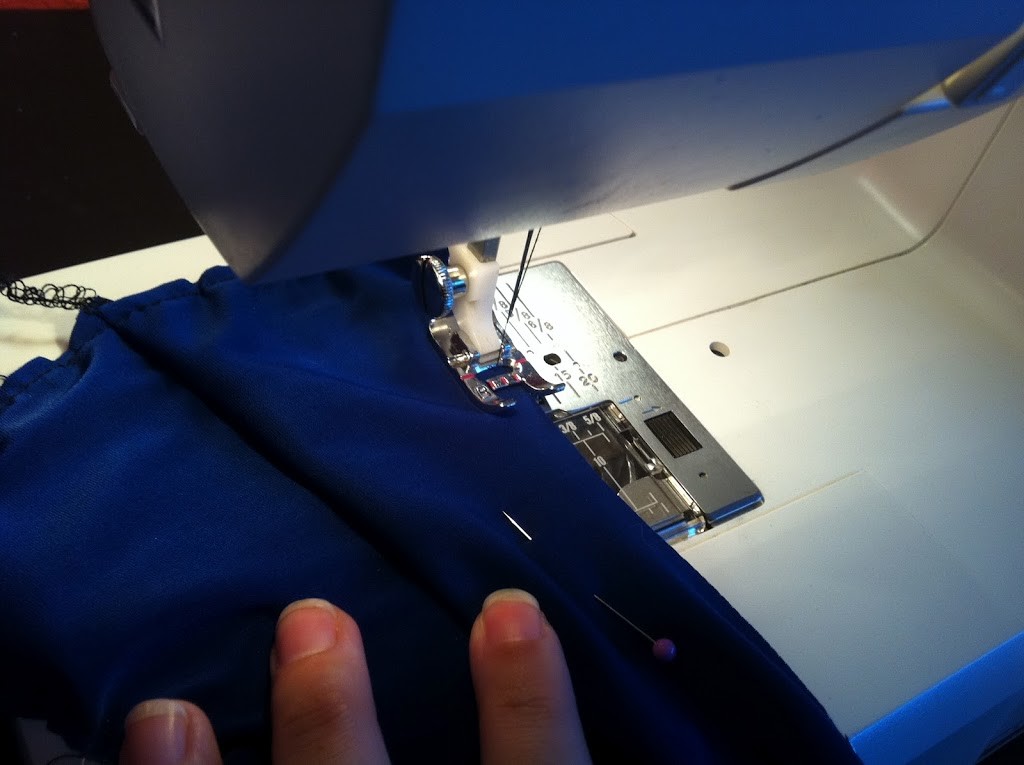
Sew gathering stitches between notches and be sure not to sew over the swim cups tucked inside.
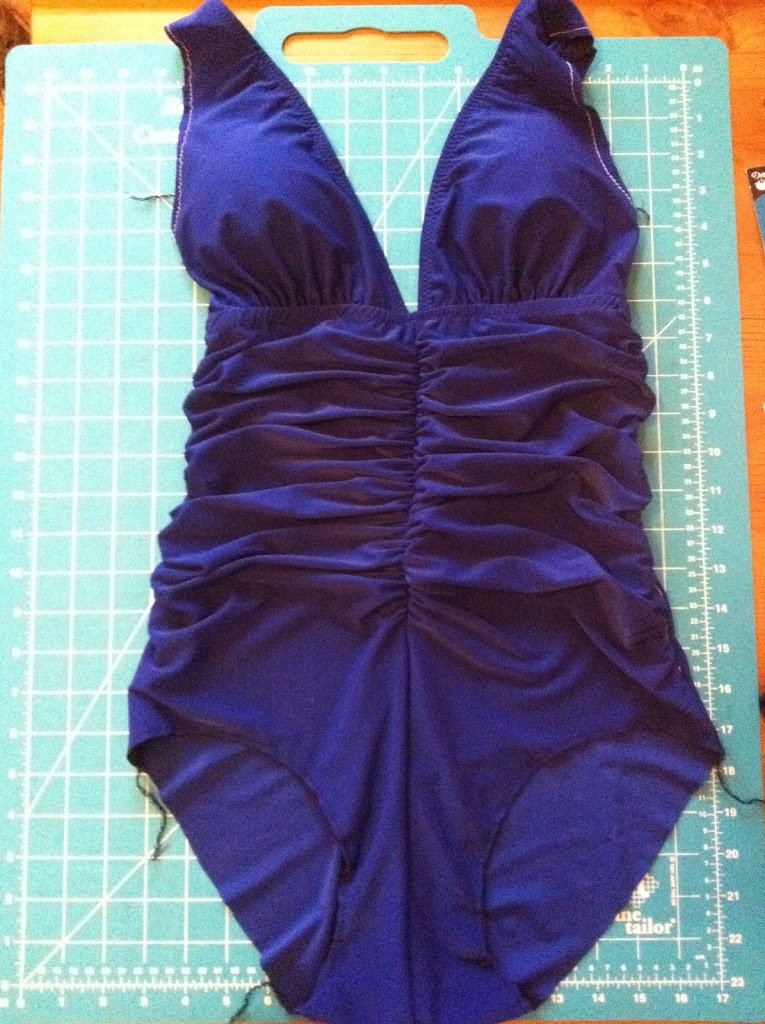
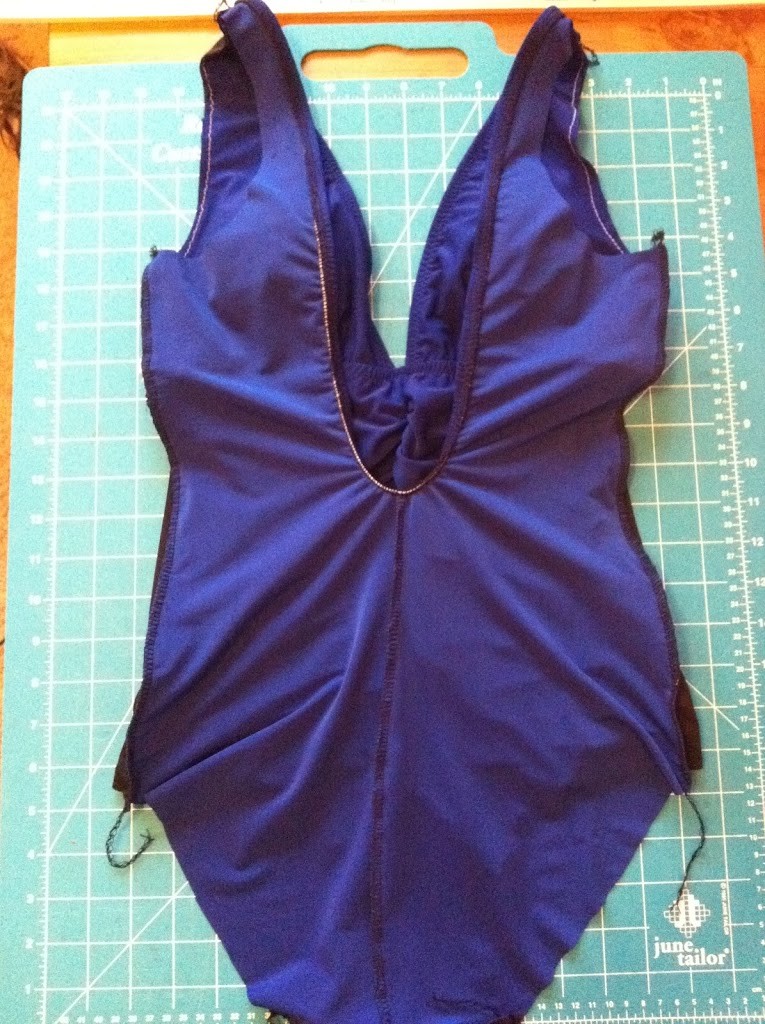
Now we’re moving on to step 8 – attaching the bodice pieces to the front gathered piece at the bustline. Pin the bodices to the gathered front piece, right sides together. Adjust the gathers until the bodice pieces fit and stitch the seam.
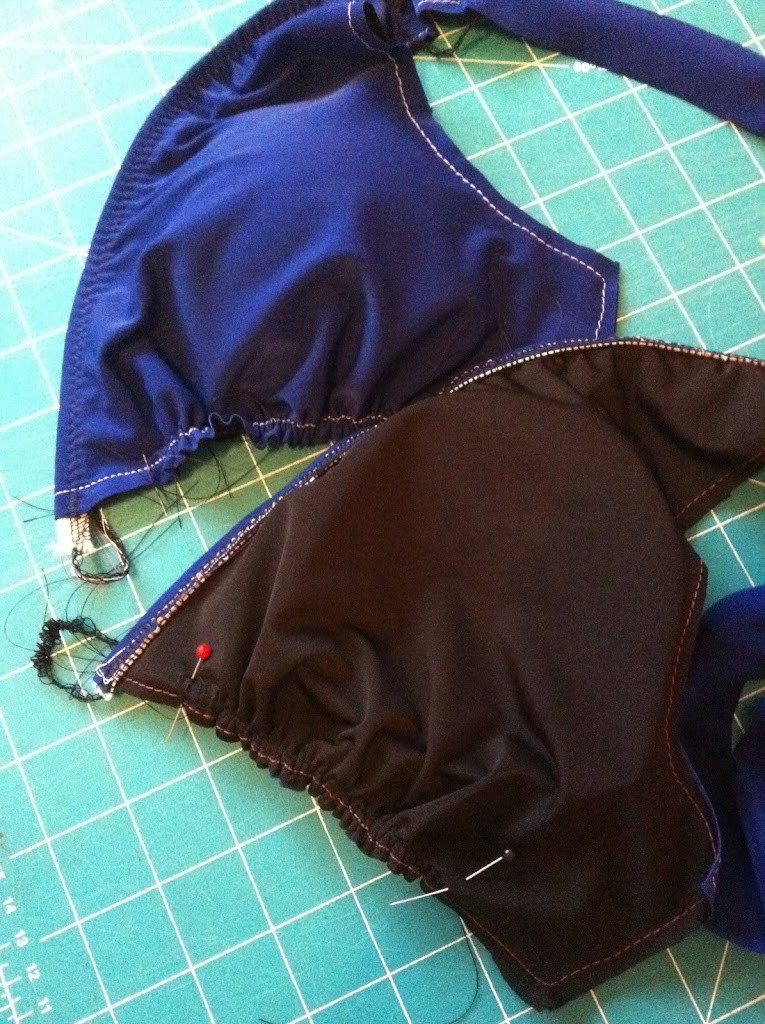
Next place the lining on top of the seam you just stitched and sew again.
Finally pin your swim elastic to that seam (step 9 includes elastic measurements) and stitch over again. I’m doing this part with a zig zag stitch rather than a serger because serging three times gets pretty bulky! Plus the lining will be folded back so that the raw edge will be hidden.
Ok, fold back that lining piece and turn everything right side out. Pin the front and the lining together at the sides. Topstitch right under that bust seam to hold all those seam allowances and elastic together.
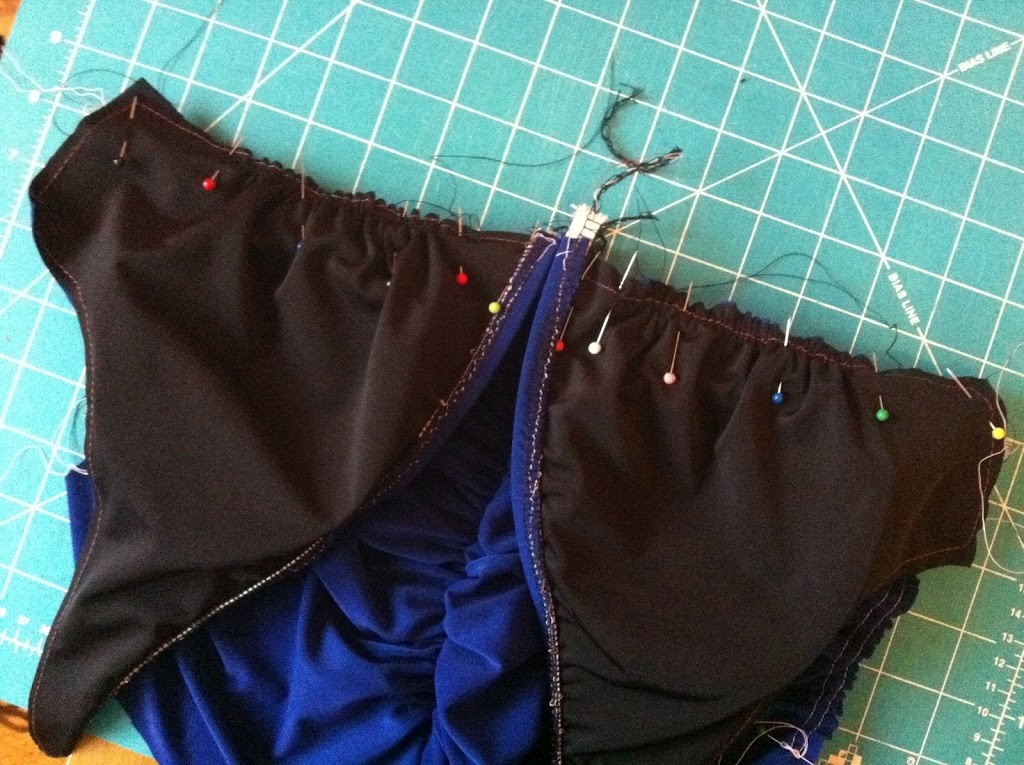
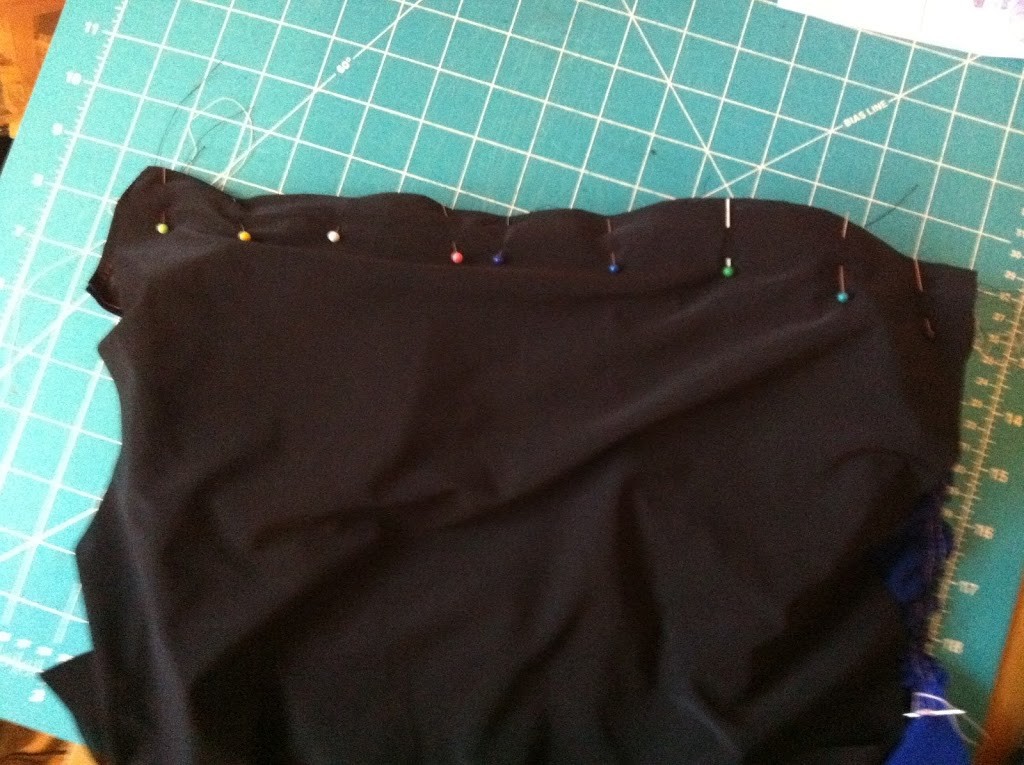
After that we baste the sides, leg holes and crotch of the front and lining pieces together. Take this time to adjust those side gathers if you need to.
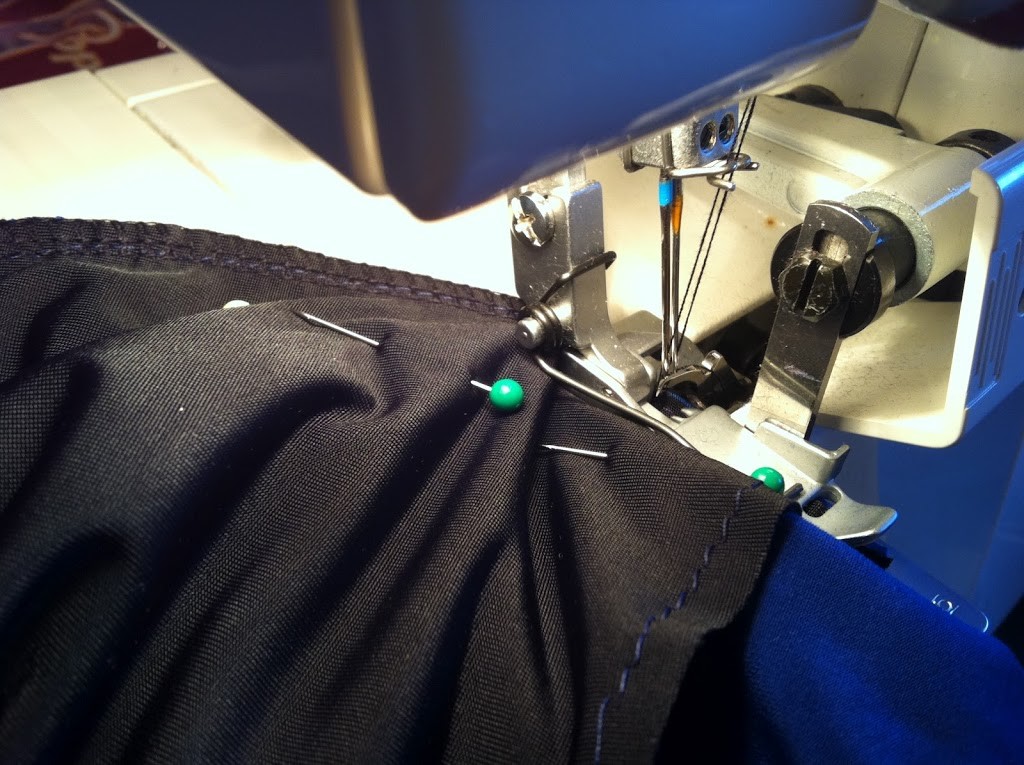
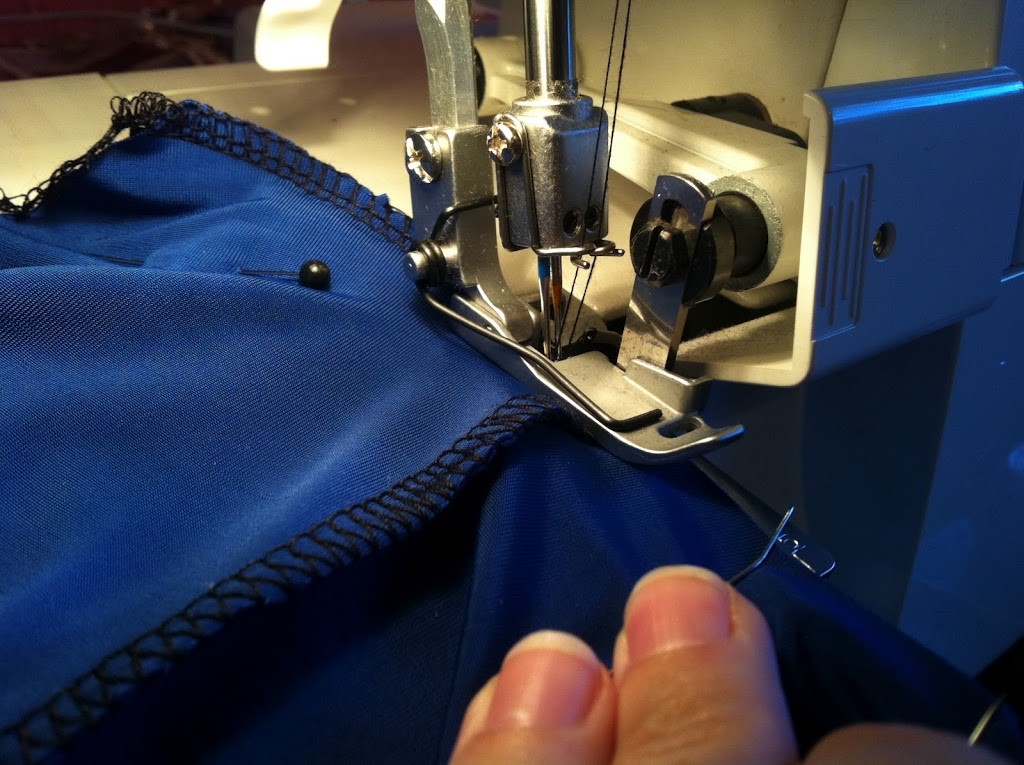
Almost there! Step 10 has us stitching the side seams. I’m using my serger ’cause I like the finished look.
Then we stitch the crotch seam which might seem strange because we’re attaching a convex curve to a concave curve. Lucky for us swim wear fabric is stretchy so you can gently stretch the pieces to fit as you sew.
Wow, we are practically done! Next time we’ll finish up with arm and leg hole elastic and then you can run around your house screaming that you made yourself a real-life swimsuit and scare your pets!!
What a huge DIY! Congratulations!!
http://www.daretoDIY.com