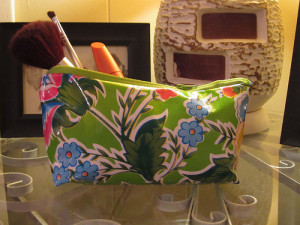
Stand Up Oil Cloth Zipped Pouch
Guess what!? I’m going to Chicago for a little vacay in less than a week! And I was thinking about how I don’t have a single make up bag that is big enough to fit all of my necessary travel items. I mainly needed a bag long enough to hold my tooth brush and fat enough to hold all my smaller things like eye shadow and mini size lotions.
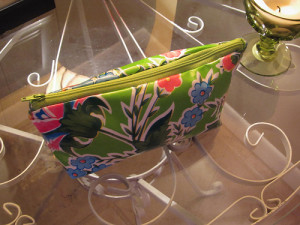
And since I had plenty of oil cloth leftover from making my wallet I put some to good use for my travel make up bag.
Most beginning sewers at one point or another learn how to make a zipped pouch. This is a variation on that simple concept that allows the bag to stand up on it’s own.
Rather than cutting a flat bottom piece for the bag, you only need to alter your two pieces that you would use to make a regular flat zipped pouch.
If you’ve never sewn a zipped pouch here’s my favorite tutorial.
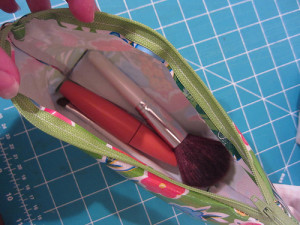
This oil cloth bag is unlined for easy cleanup in case I have a spill.
If you sew this pouch design with regular cloth I recommend you use some iron on interfacing to add stiffness.
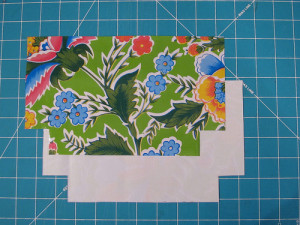
First, cut your two rectangles for each side of your pouch.
Next, cut a small square from each bottom corner of both rectangles. The size of your square depends on how wide of a bottom you want on your bag. In general, the width of the bottom of you bag will be double the length of one side of your cut square.
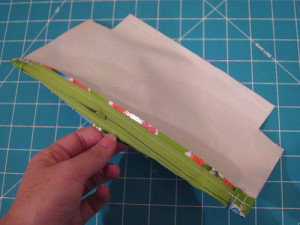
Now, proceed to sew your zipper on like you would a normal bag. Leaving the zipper open at least half way sew the sides and bottom seams (right sides together).
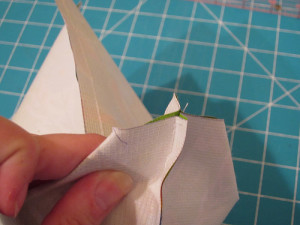
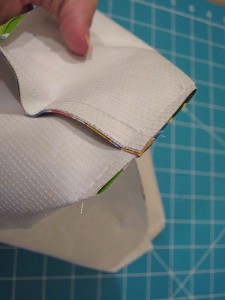
Here’s the key part – take your square cutout area and squeeze the side and bottom seam together and fold along the corners of the square like in the photo. Stitch along that raw edge. Repeat for the other corner.
Now, if you’re using this technique to make a lined bag here is where it is different – for the lining you don’t want the raw edge of those corner seams showing, right? You’ll have to push those edges under and stitch over the top of your seam to seal it. This means you’ll see the stitching when you look inside the bag but there’s really no way around it.
Turn your pouch right side out (now you know why I asked you to keep it unzipped!).
Those square corners have been transformed into a flat bottom for your bag, perfect for digging around in at your hotel bathroom.
I only bough 1/4th yard of this oil cloth and I still have enough left to make another pouch or coin case or something. I’m really getting my money’s worth out of this stuff!
Really nice!
ohhhh, really nice, i might give it a go myself. thanks for the inspiration!
http://blogoftheprettythings.blogspot.com
xxx
Too cute. I’m starring this one for a future project. Thanks!
Zipper Pouches have Zip lock on the top of the pouch. They comes in many form of standup pouch,vacuum pouches.The benefits of these pouch is that it could be opened and closed as many times as per the requirement. Thanks a lot.