Crinoline Petticoat Tutorial
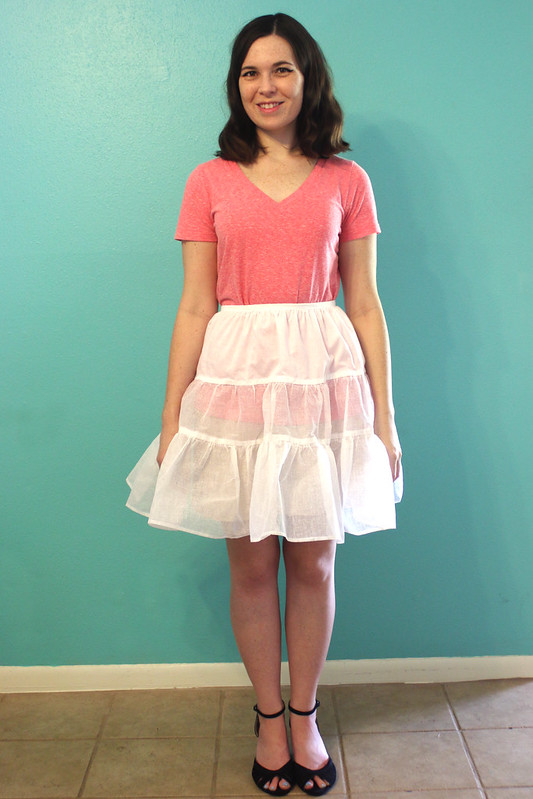
Ooooh look, I made a petticoat! Ruffly petticoats aren’t something we see much of these days. They’re usually only worn with special occasion dresses. Sometimes a pretty party dress will come with a layer of tulle attached to the skirt lining but not much else.
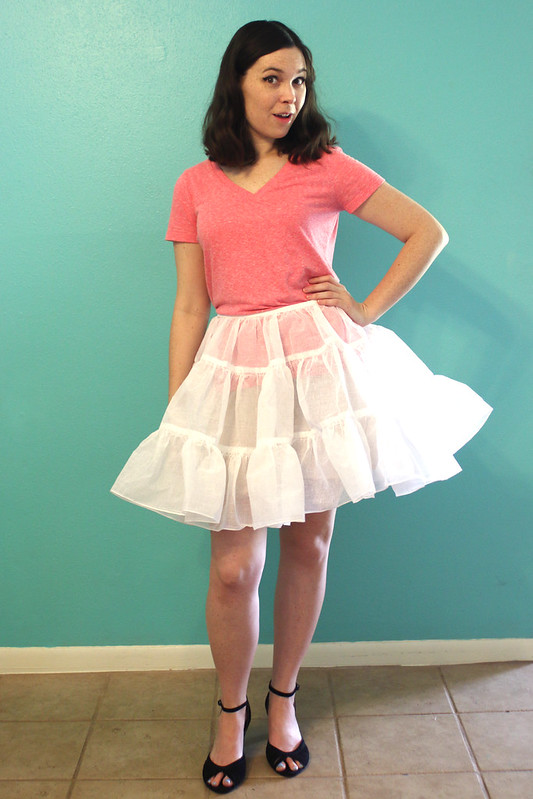
I talked about the current popularity of the Fit and Flare dress in my last post, but those dresses don’t often get the kind of “flare” in the skirt like they did in the 50s and 60s. Why not give the flare some extra oomph with a crinoline petticoat!??
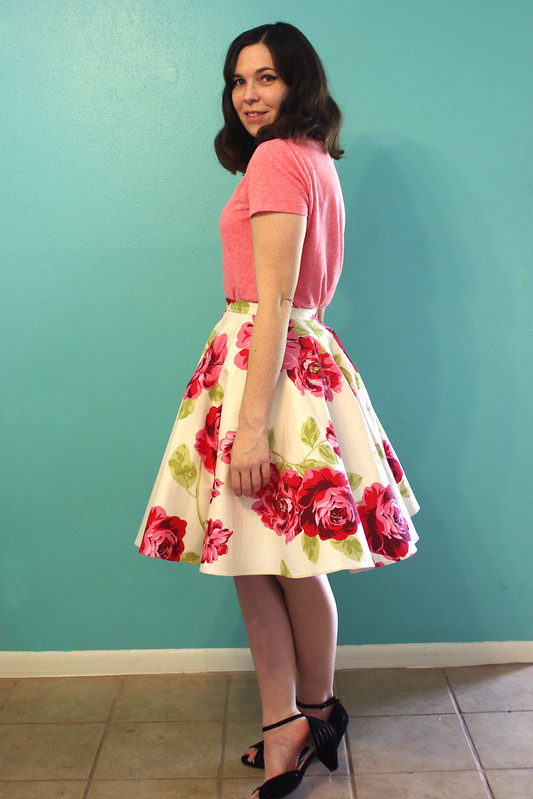
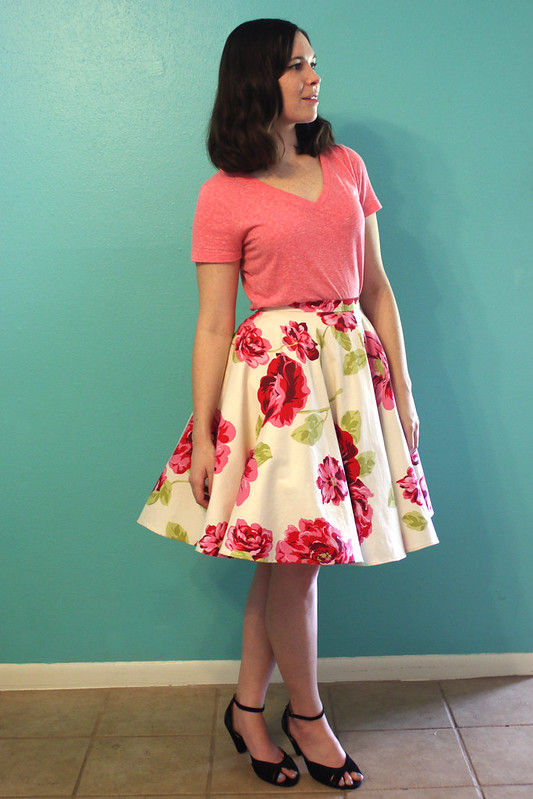
I’m wearing this petticoat with my floral circle skirt. It also works well under other types of full skirts.
I originally followed this great tutorial but I made my petticoat a little different. Firstly, I didn’t use ribbon trim. Spools tend to come in something like 3yd lengths and I didn’t want to buy 5 spools for one petticoat. Also, that tutorial uses quite a bit of fray check for the raw edges, but since I used cotton crinoline rather than nylon I didn’t need the fray check and simply finished my seams with a zig-zag stitch.
I tried to make this tutorial beginner friendly so first let’s talk about:
What is Crinoline?
Crinoline is a stiff but flexible fabric with a very open, plain weave. You can find 100% cotton as well as poly and nylon versions. It is most often white but you might be able to find it in black.
How is Crinoline different than tulle?
Tulle typically is made of nylon and has a diamond weave so it doesn’t fray. The size of the net can vary but it doesn’t have as much stiffness or body as crinoline. My petticoat made of crinoline will stand up on its own, tulle won’t do that. Crinoline is mainly for structure so it isn’t “pretty” like tulle. Those fancy colorful petticoats that are made to peek out from under skirts are tulle.
You can use tulle with this tutorial but your petticoat won’t be nearly as poofy. You’ll need several more layers of tulle to achieve a similar effect.
You will need:
4-5 yards of cotton crinoline (I bought mine from Fabric.com, some Joann Fabric stores sell it in the utility section)
1″ wide Twill Tape the length of your waist measurement plus an extra 5 inches
Hooks and eyes
Measuring tape, ruler, marking implement
Sewing Machine, thread, pins, needles, scissors, etc.
Tip: For this tutorial I’ll refer to Crinoline as the fabric and Petticoat as the garment.
1. Measure the Length of the Petticoat
Use your tape measure to measure from your waist to the hem of the petticoat.
Tip: The petticoat should be 1″-2″ shorter than the skirt you will wear it with.
My petticoat length is 20″.
Divide that measurement by 3 for a 3 tiered petticoat. I made my tiers 6″ (top), 7″ (middle), and 7″ (bottom).
2. Cut the Tiers
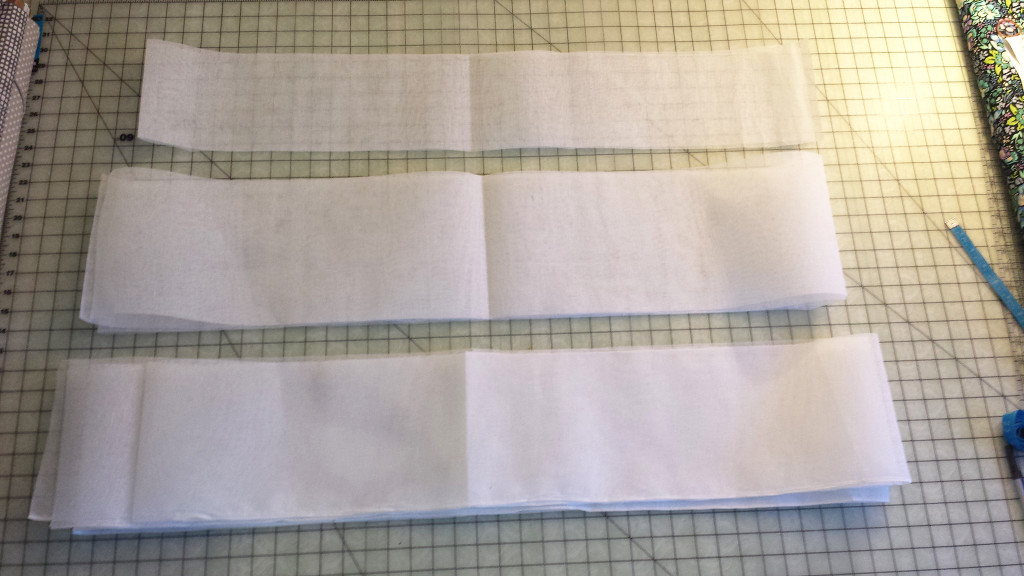 (I used a rotary cutter and mat and folded the fabric in half twice so I sliced through four layers of fabric at a time. You can also simply measure, mark, and cut with scissors.)
My tiers:
Top: 6.5″ (6″ plus .5″ seam allowance at the lower edge) x 2yds
Middle: 8″ (7″ plus .5″ seam allowance at upper and lower edges) x 4yds
Bottom: 7.5″ (7″ plus .5″ seam allowance at the upper edge) x 8yds (two 4yd pieces).
Tip: I cut my bottom tier along the selvage so I wouldn’t have to hem the lower edge.
Tip: My waist measurement is ~26″. If your waist is ~40″ or larger, consider cutting longer tier lengths like 3yds for the top, 5yds for the middle, and 9yds for the bottom tier.
3. Stitch the Short Sides Together
For the bottom tier, stitch the two 4yd pieces together along the short sides using a 1/2″ seam allowance. Finish the seam allowance with a zig-zag or overlock stitch.
Repeat with the middle tier.
For the top tier, hem both of the short ends by folding the raw edge inward 1/4″, then fold it over again 1/4″ and top stitch. This part will be open so you can get in an out of the petticoat.
4. Sew the Gathering Stitches
Lower your machine tension slightly and use a long machine stitch. Sew two lines of stitching on each tier, one at 3/8″ from the upper edge and again 5/8″ from the upper edge.
Tip: For the bottom tier, start and stop your gathering stitches at the short side seams rather than stitching all around in one continuous loop. It’s easier to gather 4yds than a huge 8yd piece all at once.
5. Divide Each Tier into Fourths
Divide the length of each tier into four equal parts and mark with pins. You could also lightly iron vertical folds into the crinoline to mark each section.
6. Sew the Tiers
Starting with the bottom tier, pull the two thread tails on the right side of the fabric to gather the crinoline.
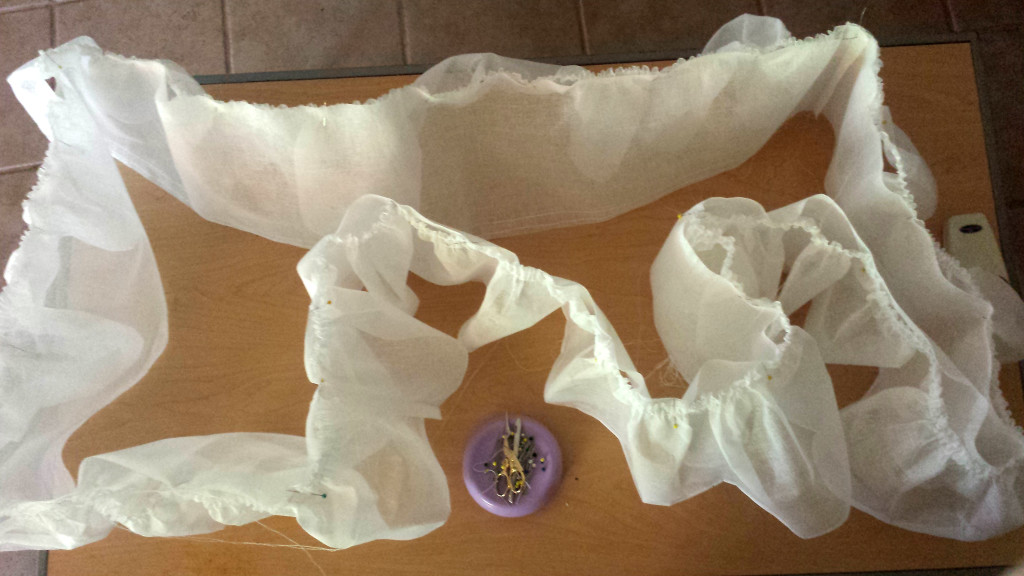 (Look how well it stands up on its own! Also, the bottom tier is so long!)
Once gathered, pin the upper edge of the bottom tier to the lower edge of the middle tier, right sides together. Match up each pin/fold in the fabric so the gathers will be evenly distributed.
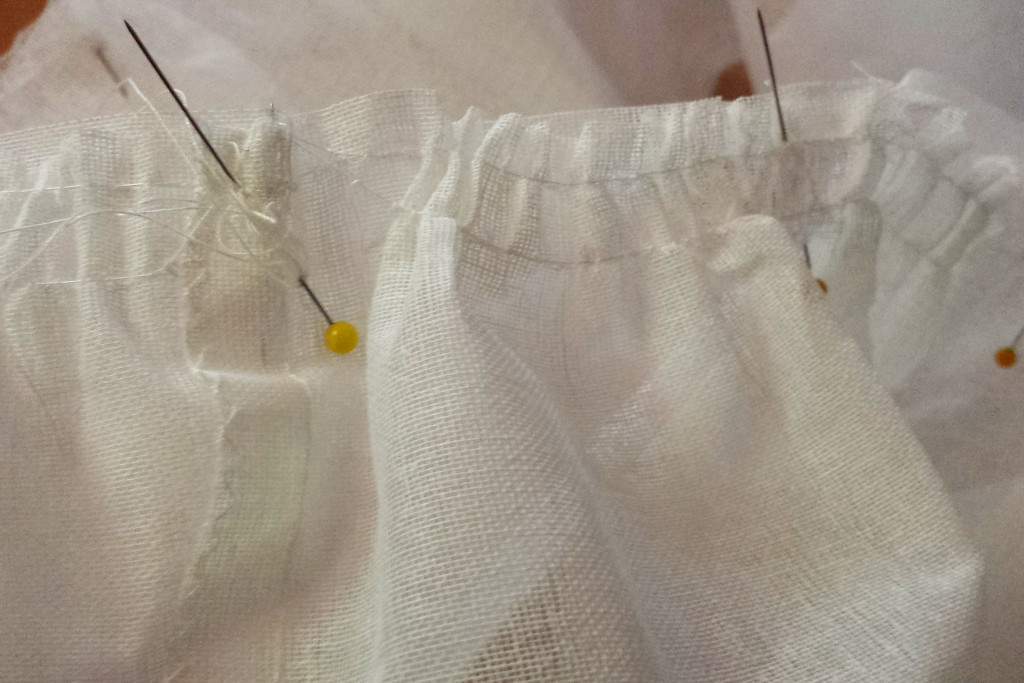 (If you’re struggling with gathering stitches that don’t like to stay gathered, you can secure your thread tails by wrapping them around a pin in a figure-8 pattern)
Stitch all the way around with a 1/2″ seam allowance.
Press the seam allowance toward the upper tier and topstitch with a zig-zag stitch to prevent fraying.
Repeat with the middle tier, then top tier.
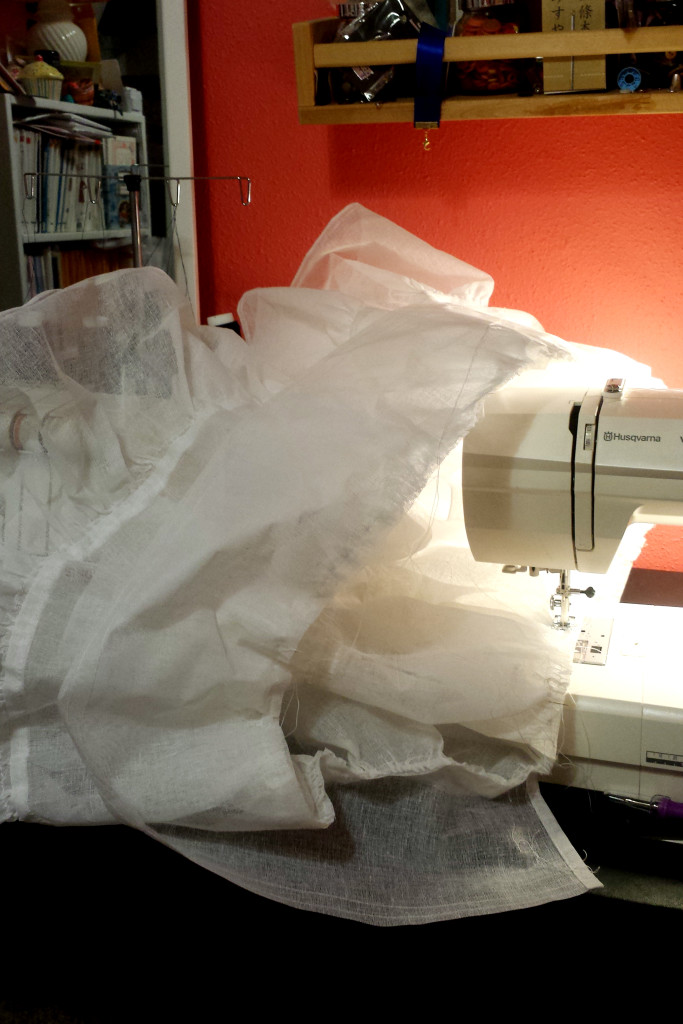 (That’s a huge mess of fabric right there! This is sewing the top tier to the middle tier. Notice how the top tier has gathering stitches but isn’t gathered yet.)
7. Sew the waistband.
Cut a length of twill tape that matches your waist measurement + a few inches extra. My waist measurement is about 26″ so my tape is about 29″ long.
Mark the length of your waist measurement with a pin on the tape. Those extra few inches will be overlap for the hooks and eyes.
Gather up the top tier to fit the waist measurement area of the twill tape. Fold the short sides of the twill tape under 1/4″.
Wrap the twill tape over the raw gathered edge of the top tier leaving the overlap hanging off one side. Pin.
Stitch close to the edge of the twill tape and be sure to catch all three layers as you sew. Continue stitching all the way until to reach the end of the overlap, backstitch.
8. Sew the Hook and Eyes
Sew a “hook” to the inside end of the overlap.
On the opposite side of the waistband, sew on corresponding “eyes” each about an inch apart.
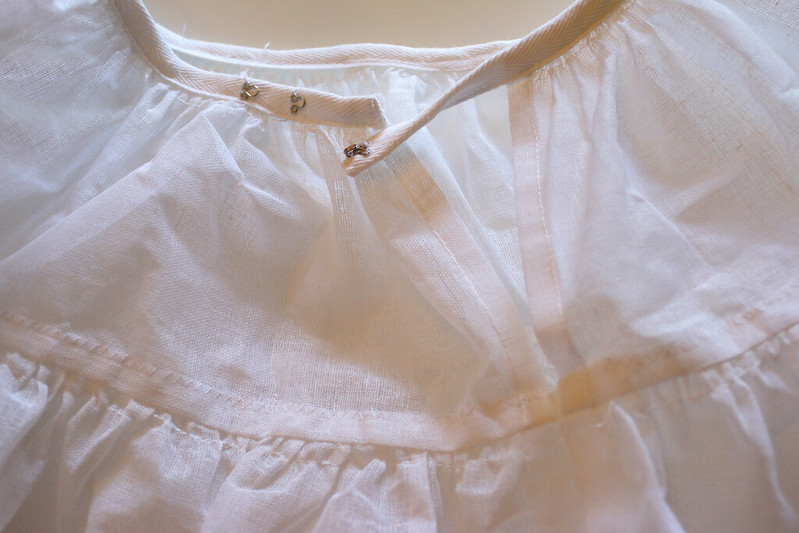 (I ran out of the flat style “eyes” but these loop style eyes work just the same.)
Tip: sewing on extra “eyes” allows you to wear the petticoat lower on your hips when wearing longer skirts.
Yay! You made a petticoat! No go wear your skirts extra poofy!
**************************
My crinoline was only 38″ wide but I had enough fabric left over to eek out a smaller petticoat.
This one used 4yds of 8″ wide crinoline for the bottom tier, 2yds of 6.5″ wide crinoline for the middle tier, and 45″ x 7″ of cotton muslin for the top tier. I didn’t have enough twill tape left so I just cut another strip of muslin for the waistband.
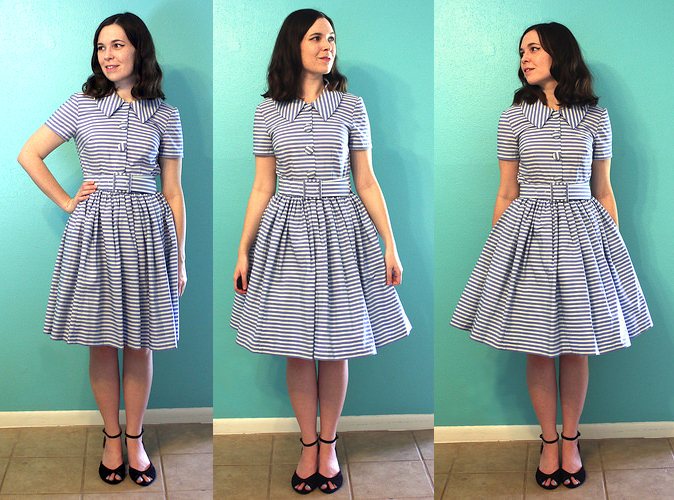
Here’s an example of my Breathless dress with no petticoat, small petticoat, and large petticoat.
I didn’t take a pic of me wearing both petticoats together but, man, it makes for a huge skirt!
**************************
I was talking to my Aunt about her experience wearing petticoats in the 50s. She said girls would compete to see how many petticoats they could pile up under their skirts. She’d also dip her petticoats in liquid starch to make them extra stiff. If you were around in the hey-day of petticoat-wearing I’d love to hear your stories!

Thanks for sharing this tutorial! I love the looks you’re getting with your new petticoats, it helps make your dresses look more polished. I like wearing mine and knocking everything off the table!
Thanks, yeah my sewing room is waaaaay to small to be wearing huge skirts in. Anything low enough just gets all knocked to the ground, lol!
Damnit I really need to get on this….
what a great tutorial! those petticoats are adorable – they really bring a full skirt alive – and I didn’t even know you could buy cotton crinoline that would have so much volume. thanks for sharing this! 🙂
Glad you liked it!
awesome tutorial definitely saving this
Thanks!
Thanks for sharing this. I plan to make a vintage inspired dress later this summer. I’m bookmarking this for after that.
Thanks! I mainly made this to go with future vintage dresses, too.
I didn’t know that there is such a thing as “cotton crinoline”! Thanks!
You’re welcome, anna! 🙂
Anyone who square-dances knows about crinolines. There are other fabrics which work much better than cotton – cotton gets limp very easily. It is very high maintenance.
I’ve had two polyester crinolines for over 25 years and they are just a good as new.
I have an elastic waistband which means that I can wear it no matter what is happening with my body ( monthly bloating, weight fluctuation, babies, etc.). I have seen the elastic in a casing, however mine have a 1½” wide elastic stitched to the top layer. The elastic is covered with tricot and looks very nice.
My crinolines wash beautifully and I just hang them to dry, give them a shake and they’re ready to wear.
I never thought I’d see the day when women would wear crinolines as part of everyday wear. What goes around, comes around again.
Thanks for the info! I have a nylon petticoat that I bought online, it also has an elastic waist however it’s too long even if I roll the waistband up. I’m just going to have to fix it one of these days.
I made this one from cotton to go with some vintage costumes I’m planning (no poly in the 50s).
You have several options, Dixie. You can shorten it at the waist or the hem, or both – depends on how much needs to come off and how balanced the distribution of fabric will be affected by your choice.
If you shorten it all at the waist, be careful that you don’t have too much fabric riding over your hips – unless you are blessed with slim football player type hips and you want the excess to fill you out. (in that case some of us are green…lol)
OR here’s an easy-peasy solution:
One lady shortened hers by sewing the fabric up just above the gathers in each section. She split the amount she needed to shorten it between two sections. She did the math – folded the fabric and took the amount she needed to take up in the section, divide it in two. Put her needle at the number she came up with away from the edge of the fabric and sewed. She did the same for the second section. She said it was simple straight sewing, and because she’s not a sewer, she needed easy – it wasn’t perfect but no one can see the imperfections with all that fullness. This left the waist and hem intact.
Lovely tutorial, and your outfit looks fab! I still have some crinoline lying around from my first foray into petticoat sewing, before I even started to sew seriously. One day I’m going to make a proper one!
Great work, I’d like to remember this next time a crinoline is called for
When gathering long lengths of fabric, it is much less frustrating to center some heavy thread, like carpet thread, in the groove of your sewing foot & then use a wide zigzag stitch over the top of it, so that the stitches fall on either side of the thread. You can pull the heavy thread through the zigzag without it breaking. After you sew the gathered piece to its neighbor, you simply snip the carpet thread & pull it out. Don’t worry about the zigzags–they won’t show.
The Crinoline that I found at my local JoAnn’s says dry clean only. Fabric.com is out but what they have on their website says to wipe clean with a damp cloth. How do you clean yours? I like your tutorial and think I might use some of the information to make a petticoat for me.
Seems really obvious, but the more fabric used in the length of the tiers, the poofier the skirt would be, right? I have a long skirt I’m wearing for a play and I’m worried the overskirt will be too heavy to poof properly, so I was thinking of making the crinoline bigger
How often do you wear crinolines? Or petticoats? Only on special occasions or regular basis? I love the style but I chase a toddler and a baby that’s just started crawling! And I get dirty dirty nearly every day! I don’t think it would be feasible for me but I’d love to find a way to be more who I want to be.
Honestly, hardly ever. They’re good for vintage-wear, costumes, or the occasional fancy night out. But when I need one for a special occasion I’m glad I have one (or two) in my closet. I also have a baby, so I know what you mean. 😉 But I think you can wear them more often – I’d wear some bike shorts underneath for extra “protection,” ya know, when you have to bend over and pick up a kid.