Little Girl’s Dress – BurdaStyle Magazine Oct 2011 Issue
Whoa, sorry for the unexpected absence from me! Sometimes I don’t realize how long I’ve been away from the blog.
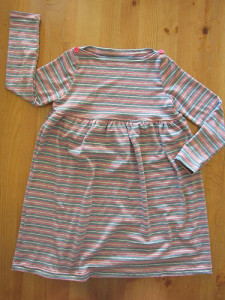
But I have been working on both my upcoming pattern and some Christmas presents like this cute little dress!
I have three cousins under the age of 8 and they are all girly girls who love pink and playing dress up. I like to think of them as little Charlie’s Angels because the oldest is blonde, the youngest is a redhead and the middle one is brunette. It will be several years before they understand that reference, though.
This year I’m making each girl a dress and I finished the one for the oldest first.
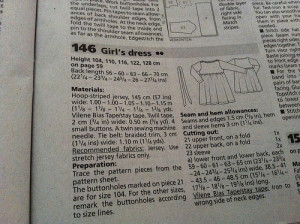
I found the pattern in the October issue of BurdaStyle Magazine, style 146. The dress also has a tunic variation.
The fabric is from Hancock Fabrics and has a stripe of silver weaved in for some sparkle (which you can’t see well in these photos).
I never before used a pattern from the magazine even though I own a few issues. This dress seamed easy enough to try.
All the patterns pieces are printed in different colors on one giant sheet of paper and you have to find and trace the pieces you need. A couple patterns have illustrated instructions but this pattern only had written. While I could figure most of it out on my own a little visual help in a couple places would have been nice.
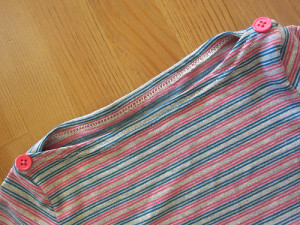
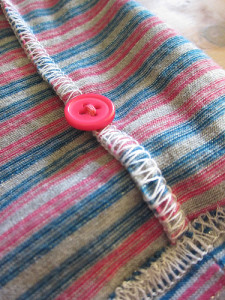
For example, the pattern calls for a total of four buttons with button holes on the shoulders but after assembling my pieces I couldn’t figure out a way to fit four. Instead I sewed two buttons and ditched the button holes because the neckline looked big enough to fit her head through.
Also, the method of stabilizing and binding the neck opening confused me. The pattern calls for twill tape and Vilene Bias Tape (a notion that is rarely used in the USA) but the instructions only described using the twill tape. I didn’t have any twill tape on hand so after looking up Vilene Bias Tape I decided to make my own.
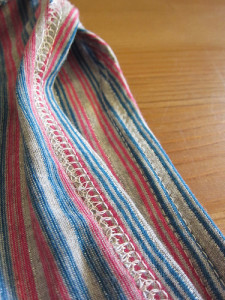
I cut a 1/2in wide strip of iron on interfacing on the bias. The bias cut makes it ease to form to the neck curve. Then I sewed a straight stitch down the length of the strip. This provides extra stability so the interfacing doesn’t rip. I adhered it to the raw edge, serged the edge and folded under and top stitched with my twin needle.
It works well but this method may have caused my button problem because I didn’t use twill tape. I would have abided by the magazine’s instructions if I had more easily understood them.
Besides those issues the sewing process went pretty smoothly. I serged all the seams and used my twin needle on arms and hems. I even stitched an extra button on the inner side seam in case they lose one of the buttons.
Before I wrap it up I’m debating whether or not to order some personalized clothing labels as a finishing touch. That might also help her figure out which side is the front and back because they look almost exactly the same!

Awesome idea for interfacing on the neck line. I am definitely going to use this and can start with an old Quick Sew T- Shirt pattern to make my two granddaughters new dresses. Leave out the sleeve and you would also have cute sundresses. Thanks so much for sharing.