DixieDIY’s Summer Swimsuit Sew-along Pt 5: Bust and Back
Today we’re working on steps 4-7 of the pattern – prepping the bust and back pieces.
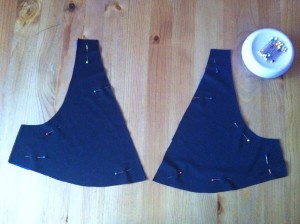
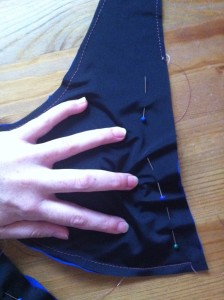
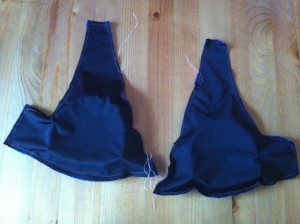
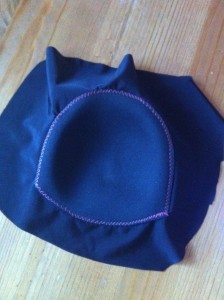
For the bust triangles you have to baste the lining together. Since we’re adding bust cups (if you’re not go ahead and follow the instructions exactly) we won’t baste all the way around.
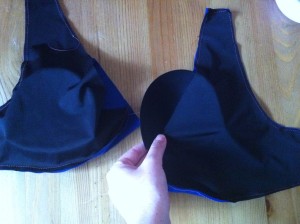
We’ll leave the inner edge un-basted from about 4 in from the top and slip in our cups.
If your bust cups are too big you can trim them to size with scissors. I’m leaving the bust gathering portion of this step for after we’ve encased the cups.
The kind I’m using fit perfectly inside my bust pieces so I don’t even have to stitch them down and they stay in place well after we add the neck and arm elastic, and they’re very flexible. (That’s why I love these cups for this pattern!)
Once you slip those cups in you can baste that edge closed.
If you’re not using this pattern and don’t have an easy way to encase your cups you can also stitch them to the lining. It’s very easy with these cups.
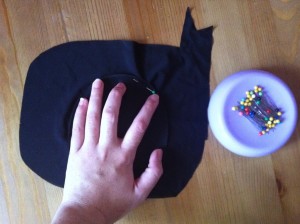
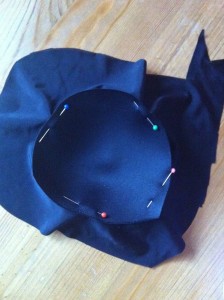
Find the are you want to put your cup and place it face down on your lining and “smush” the cup until it’s mostly flat. Pin in a couple places near the edge of the cup.
When you “un-smush” the cup it will bounce back to it’s original shape.
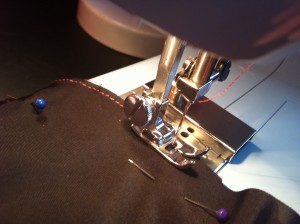
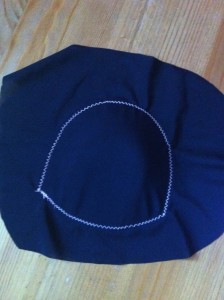
Take the cup and lining to the machine and stitch a small zig zag around the entire cup, smushing the cup flat to keep the fabric from wrinkling. Backstitch at the ends.
When you are finished the lining will gently stretch over the curve of the cup.
If your lining makes the cups buckle you can un-pick one side and stitch again. These cups are really forgiving when it comes to repeated seam ripping.
I like this method more than this one by SewStylish which has you cut out a hole for the cups, which sucks because if you mess up you’re left with two big holes in your lining!
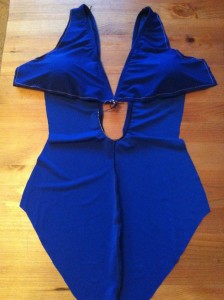
Next stitch the center back seam closed.
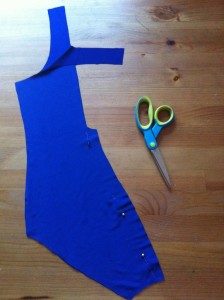
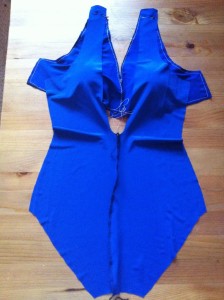
Now we’ll stitch our bust pieces to the shoulders.
Oooh, now comes the fun part – adding some elastic to the edges! The pattern tells you what length to cut your swim elastic. Since I lengthened by back pieces by 1/4″ above the dip in the back I need to add a total of 1/2″ to my elastic.
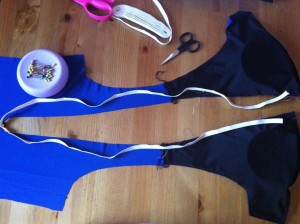
The instructions tell you to mark the elastic into fourths and mark the neckline to match. These are the only places where I pin. It is easier for me to feed in the elastic by hand rather than pinning.
Here’s where that negative ease thing comes in.
Remember how our body has to “fill out” the swimsuit? The curves of our body help to keep the suit in place. Since the swimsuit pieces are already slightly smaller than our body measurements the elastic is cut nearly as long (or slightly smaller) than the length of the openings. That means that you won’t be stretching the elastic very much to fit into the openings but there are places you’ll want to stretch a little more than others.
Think about the areas on your body that “fill out” space and other places that “dip in.” On this back-to-center-chest elastic piece “fill out” places are the tops of your shoulders, upper back and bust mounds. “Dip in” places are the curve at your mid to lower back and your high bust area.
Those “Dip in” places need more stretching to pull the fabric closer to your body. Stretching slightly around the high bust area prevents gaping and stretching around the low back area prevents sagging. For the other places you don’t need to stretch the elastic much at all – all that negative ease will stretch to fit you.
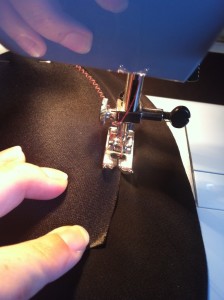
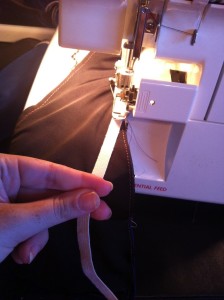
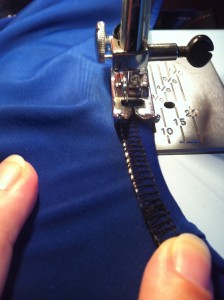
Lay the elastic down on the wrong side of the fabric and use a zig zag stitch or a serger to sew right over the elastic and fabric edge, stretching in those “dip in” places.
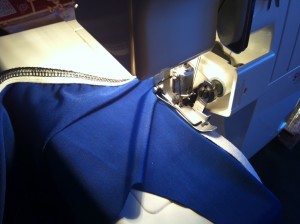
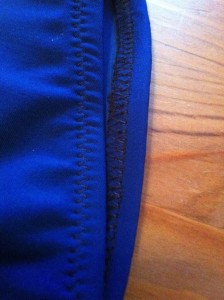
Once that’s done you’ll fold the elastic under and stitch over again using a zig zag or a twin needle. My old machine that I’m using while my good one is getting serviced can’t even use a twin needle so it’s zig zag for me!
When you stitch the folded over elastic try not to stretch the fabric out but at least make sure the fabric is flat and not wrinkled. This is important around the lower back curve. You don’t want to accidentally stitch over a big batch of wrinkles.
If your machine has a hard time moving all those layers you can gently pull from behind the needle to help guide it through, you just don’t want to over stretch from the front.
I’m going to seam rip out any basting stitches visible from the outside but I think these stitches look pretty good.
Look at you with your new-found swimsuit skillzzzz. 😉 Next time we’ll stitch the back and bust pieces to our gathered front.
I can´t wait to try these new tips.
It looks like it’s coming along great.
thats so cool… i gotta give a go!
I’m so impressed by this!! It will probably be a few years before i get to the swimsuit-sewing skill level (if ever?). All I can say is “Wow!”
Thanks, I thought I wasn’t advanced enough for swimwear sewing, too, until I tried it and realized how easy it was. If you’ve ever sewn with knits you can totally make a swim suit! 🙂
I just took a class on sewing with knits. I’ll have to check out your “Never Fear Knits” section and see if I can pick up a few more pointers. Thanks!
The leading is actually a spandex/nylon tank which has a constructed in bra and it comes with swimming shorts.
iplay swim diaper